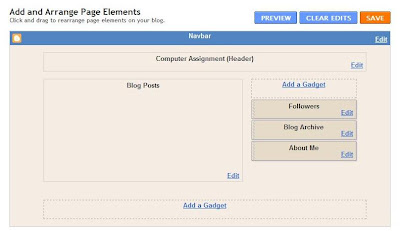
So, firstly from your Dashboard, click 'Layout'.

After that, click on 'Add A Gadget'.

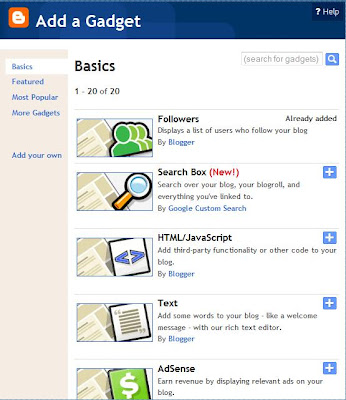
Then, another window will open. From that window, click on the 'HTML/JavaScript'.
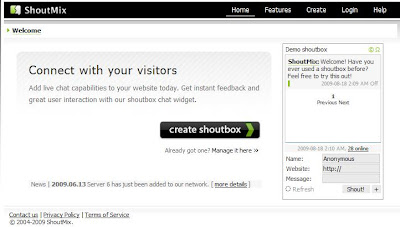
 After that, something like this will appear where you have to put in the title and the content. In our case, we are putting up a chatbox. So, I have put 'Shout Box' as the Title. As for content, we have to look for the codes of the chat box. In order to do that, we have to go to 'ShoutMix' website.
So, from ShoutMix website, click on Create Shoutbox.
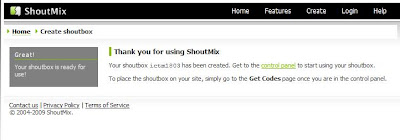
 Then, fill in all the details. After doing so, and after agreed to the T&C, it will lead you to this page where you have to click on Control Panel.
From the control panel. click on Get Codes.
 Then, copy the code and paste it at the Content of the HTML/JavaScript.

Then, click save. Next step would be, VIEW YOUR BLOG! You will see a shoutbox on your top right or on the bottom part of your blog, depending on which 'Add A Gadget' you clicked. As an extra information, the placement of the gadgets are not fixed. Thus, you can change them. :) Good Luck Trying. If there were any problems, you can just say it at the shoutbox. :p
http://esumi-lynn.blogspot.com
No comments:
Post a Comment